FAST.
Deliver Secure Mobile Apps
Mobile Security Automation to release & monetize 30% faster, reduce testing and delivery cost by 30% and reduce appsec risk by 40%.
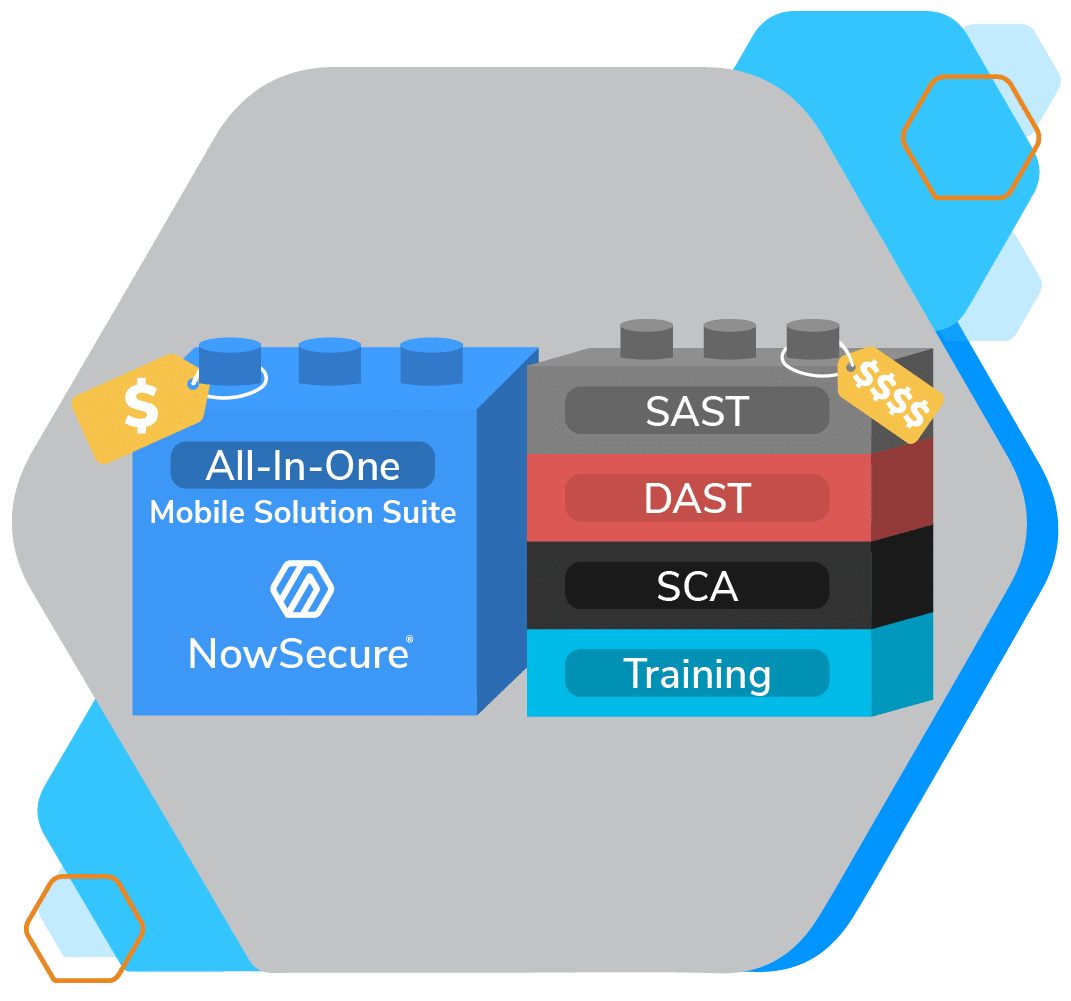
Slash Mobile AppSec Costs without Compromising on Coverage
All-in-One
Try NowSecure Platform, our All-in-One Automated Mobile AppSec Testing Solution
Tech Talks Webinar Series
Meet the Experts
Gain tools, tips and tactics from leading Mobile AppSec Industry Experts

NowSecure Connect 2024
Virtual Conference
Join the world’s brightest innovators, practitioners, and community leaders for a full day of in-depth training, discussions, strategy sessions, networking and more.

JUST A FEW OF OUR SECURE CUSTOMERS & PARTNERS
Mobile App Security Confidence Starts Here.
Built on a decade of experience testing millions of mobile apps, contributing to standards and open source, and researching mobile app security, NowSecure helps you grow a scalable mobile application security program with the visibility, efficiency and risk control you need to mobilize your enterprise safely.
Continuous Automated Mobile App Security Testing
Integrate standards-based automated security testing into your pipelines with NowSecure Platform. Get a free demo now.
Self-Service AppSec Training for Developers & Security Teams
Upskill your Mobile Dev and Sec teams, earn certificates and ship faster with NowSecure Academy. Start today!
Expert Mobile App Pen Testing Services
Get rapid, full-scope, OWASP & ADA MASVS mobile app security assessments from our NowSecure expert analysts one time or as Pen Testing as a Service (PTaaS). Or supercharge your mobile pen testing team with NowSecure Workstation toolkit
Mobile App Supply Chain Risk Management
Gain superior visibility via continuous mobile app vetting with NowSecure Platform.
Years In Mobile
Automated Mobile Assessments
Daily Automated Mobile Assessments
Daily Vulnerabilities Found
Expert Mobile Pen Tests
Calling all Builders, Breakers, Defenders & Innovators
Get developer-first security built in
NowSecure Platform helps keep your code clean with accurate, fast mobile application security testing integrated into your dev tools of choice. Fix fast with embedded dev remediation assistance and code examples.

Go faster with our GitHub Action
Find and fix bugs right inside the GitHub Security tab with NowSecure GitHub Action for Mobile. Tap NowSecure GitHub Action for SBOM to Feed mobile component info into GitHub Dependency Graph. Check them out now in the GitHub Actions Marketplace.
Upskill with security training & certs for bug-free coding
Learn the latest mobile app development best practices in NowSecure Academy. Upskill, earn certificates and deliver higher quality mobile apps with our on-demand training.

Accelerate security in your DevSecOps pipeline
NowSecure Platform speeds up secure mobile app development with standards-based automated testing integrated into your pipeline. Get best coverage at scale with over 600 tests spanning static, dynamic, interactive and APISec analysis — all in one easy-to-use portal.

Slash manual pen tests from 10 days to 1
NowSecure Workstation gives mobile pen testers full-coverage mobile app vulnerability assessments through a wizard-driven test kit. Ideal for testing complex mobile apps including IoT, USB, BLE, MFA, and Captcha while performing deep memory and network analysis.

Scale with Mobile Pen Testing as a Service
Combine the power of the continuous automated testing of NowSecure Platform with the thorough manual assessments from the NowSecure mobile experts. Integrate testing into the CI/CD and dev toolchain to automatically initiate and generate tickets from assessments and get best-in-class penetration testing coverage to ship apps quickly with confidence in security.

Gain dynamic visibility into mobile app supply-chain
Our dynamic mobile app SBOM in NowSecure Platform offers the world’s most advanced visibility into mobile app component versions and dependencies, including third-party libraries and geolocated endpoints. Scale up for enterprise mobile app vetting for continuous monitoring of mobile app risk from third-party apps in public Apple App Store™ and Google Play™.

Upskill your teams on your schedule
Leverage mobile app security best practices with NowSecure Academy. Learn all about mobile appsec, earn certificates and avoid late-stage release blockers with on-demand, self-service training.
Scale your mobile appsec program
Leverage the NowSecure experts and the industry’s only full suite of mobile app security testing, training and services trusted by top mobile brands. Get the visibility, control and expertise you need to manage risk as you grow a successful mobile appsec program.
Scale low-friction paths to mobile app delivery
Through a proven mobile appsec program methodology that delivers predictability, performance and protection, you can efficiently secure mobile app development, shift left for DevSecOps, certify compliance, and protect your mobile supply chain.

Rope in the experts for full-scope mobile pen testing
Cover your bases with your choice of rapid, targeted and full-scope mobile app penetration testing executed by the NowSecure all-star, mobile pen testing experts. Our thorough approach includes threat modeling, deep assessments, rich reports, developer counseling for resolution and retest validation.

Get your mobile app certified
Our expert pen testing team can certify your mobile apps for critical standards including OWASP MASVS, ADA MASA, IoXt for IoT-connected mobile apps and VPNs, and NIAP Mobile App Protection Profile for federal use cases.
Meet the standards right for your app
Align your teams with standards-based testing. NowSecure solutions map to mobile application security standards, including the OWASP MASVS and ADA MASVS along with industry regulations and frameworks like GDPR, CCPA, PCI, FFIEC, FISMA, HIPAA, NIST, and NIAP.

Prepare for Executive Order requirements
From software bill of materials (SBOMs) to mobile supply-chain monitoring to future software labeling requirements, empower your teams now with the tools and processes they need to efficiently meet requirements of today and tomorrow.

Protect with continuous Mobile App Vetting
In line with Federal Mobility Group and NIST recommendations, deploy continuous mobile app vetting to protect your agency from nation state and criminal attackers using vulnerable mobile apps for remote data harvesting, espionage, IP theft, and phishing attacks.
Speed mobile app DevSecOps programs
Leverage policy-driven standardization, continuous automated mobile appsec testing, and multi-stakeholder mobile security training to accelerate mobile DevSecOps pipelines and achieve continuous ATO.

Master Executive Order cybersecurity requirements
Avoid decommissions or blocks to new purchases with the world’s first dynamic software bill of materials from NowSecure.

Tap Industry Standards
for Predictable Quality and Performance
Standards mitigate risk consistently, improve dev and security team collaboration, and speed high quality releases. NowSecure enables standards-based mobile app security testing and certification including OWASP MASVS, ADA MASA, NIAP and more.

One of the best things about moving to NowSecure is not having to fan through a 110-page security audit to figure out what bugs and security issues you need to address.”
NowSecure Workstation enables me to provide fast assessments to my team on a number of key mobile app security features.”

We rarely get things that are ready to go out of the box, but when we received the NowSecure solution, we were up and running the same day.”